
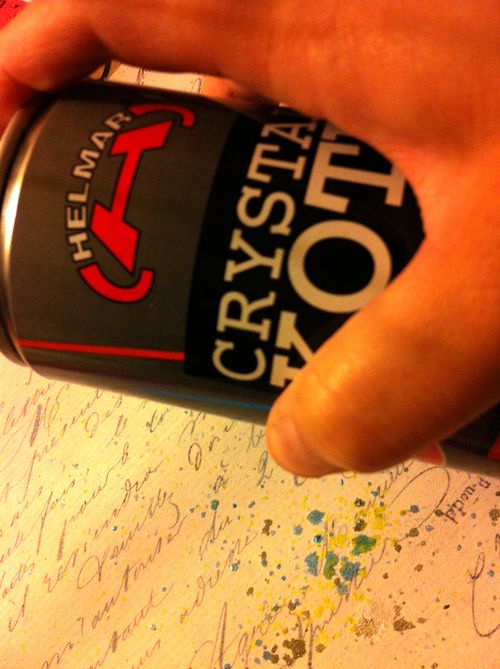
One of the biggest joys I have when creating, is adding layers of mixed media, to a layout background. A great discovery for me has been how adding Helmar Crystal Kote Fixative over each layer, gives dimension, and seals each layer that could be somehow smeared or ruined by the following medium.that is added.

Here are a few steps I use to creating that exciting layout background:
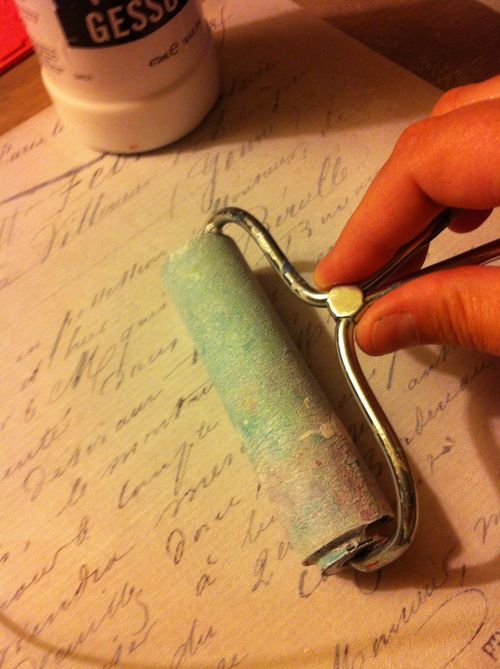
I begin by adding a layer of white liquid gesso, using a brayer. This gives the following media a good base to cling to.
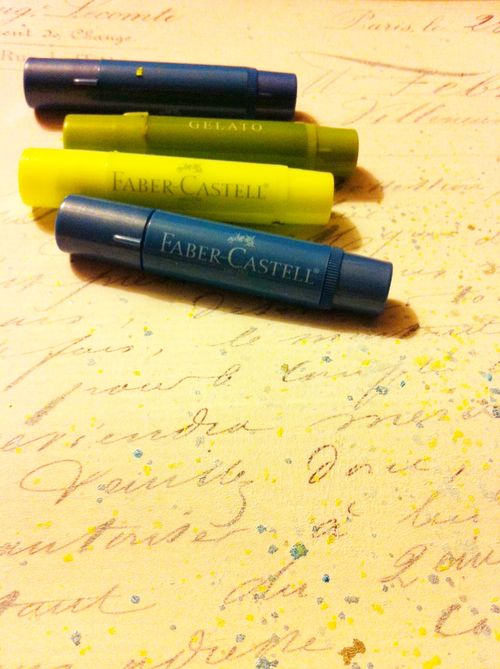
Next I usually add a layer of “wet” media. These Faber Castell Gelatos are really easy and fun to splash across the page, by simply adding a little water and blending just a bit on a palette. After drying this with my heat gun, I spray a layer of Helmar Crystal Kote Fixative.Always spray these products at a 45 degree angle to the project, and OUTDOORS.
On this particular layout, my next step was to add a few dots of paint, and to smear them upward, using a baby wipe. This gives an appearance of water splashing. Because of the Fixative on the previous two dried layers, they are visible underneath the paint, adding such a cool look of dimension that I was after. Many times, I add several other layers using stamps, stencils, and inks. 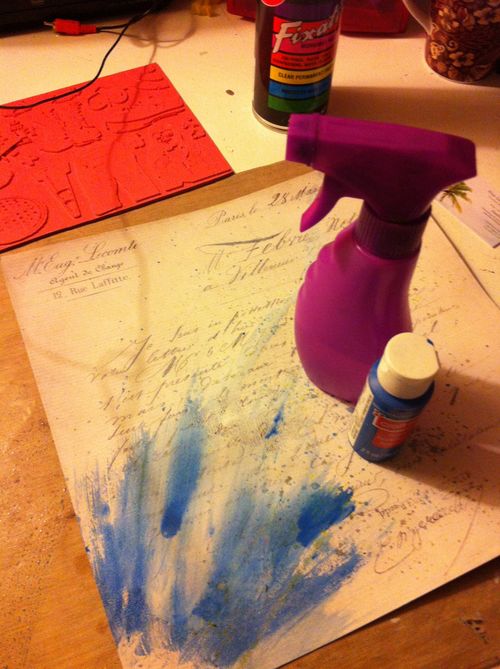
My final layer was mist, that I added using a paintbrush (I first sprayed it onto my craft mat), and flicking upward from the top corner. The thread was also added using the fixative. The tread is difficult to adhere into place naturally, but with the fixative, I just let it fall, and then spray *very* gently over the top with the fixative, and wait until dry.
I got the inspiration for this “moving” thread, from Adrienne Ford’s fabulous layout over on the Clearsnap Blog.

Here is the completed layout, featuring my goofy feet in the Hawaiian sand:

Thanks so much for stopping by and having a look at my layering tutorial. Hopefully I inspired you to bust out the paint, mist, gesso, ink, stamps…. and whatever else speaks to your imagination, and give this a try! For close up photos of this projects, visit my blog!
PS- Don’t forget to participate in our newest challenge! 🙂


