Last year I started creating a Childhood Christmas Memories mini by altering a Little Golden Book that I think is one I had as a child.
Before I get into how I created the layouts I did for this post I just want to explain how this project came to be. I only have one Christmas photo of myself as a child. Like most 80's kids not many photos were taken but I have even less now than what I had a few years ago as my Mum unfortunately did some odd things before her stroke including throwing out photo albums, she had been reluctant to part with photos as she liked to treasure them all so a lot of irreplaceable photos were lost when this happened. I mention this as it is so important we scan those precious photos relatives have so we all have a copy and right now with the bush fires in Qld last week it reminded me that I need to scan all the photos I myself have that were taken before I had a digital camera and only exist in my albums or in boxes awaiting scrapbooking. I did start scanning a few years ago but the hard drive I was using at the time was borrowed and lost before I could back it up, so I need to start the task again and save as I go to 2 places to ensure that work isn't lost again.
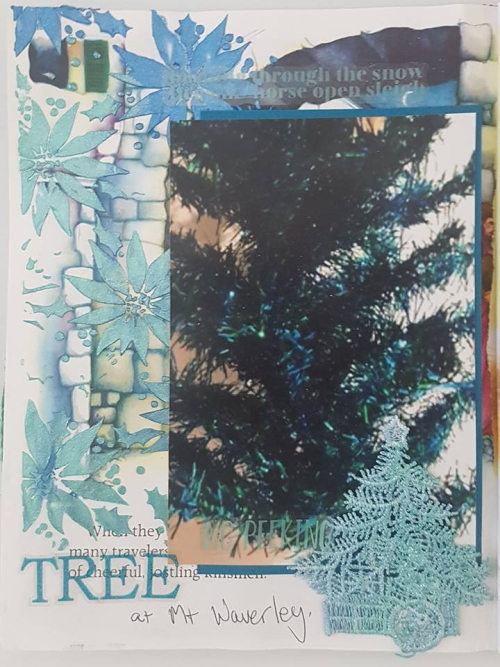
Back to this project. As a scrapper I record so much and I found myself thinking that I would love to record my childhood memories, I reached out to the group for my Primary School to see if anyone had photos of me for just general childhood scrapping, I reached out to my Mum's best friend for her memories of me and our families holidaying together but Christmas there was no one with photos and I knew it so I Google Image searched the locations that we celebrated Christmas at during my pre-teen and teen years and I tried searching for the distinct tree we had when I was little and the decorations we had and I actually found 1 photo of the tree, I was so excited. It is a close up and you can't see much but it meant I could scrap that tree.
When I got my album out from storage I thought I had forgotten to glue the pages together so I started by gluing the pages together with Helmar Acid Free Glue to give a stronger background page. I would realise after doing 2 layouts that this was a mistake and I had left just enough pages in the book so I would wind up needing to add a page, I will show you how I did this later in the post.
So the first page I worked on for this post was for the tree, I was going to do a double page spread with the decorations on the other side but I forgot that when I printed the photos last year I printed them too big so I will save doing that page for another post.
I wanted to bring the feel of the tree into the rest of the page, the tree was blue and green foil so I grabbed out what I thought were lovely shimmery paint samples that I got in a mystery box from Dusty Attic back in October to add to some texture paste, they were actually some gorgeous shimmery mica powder.
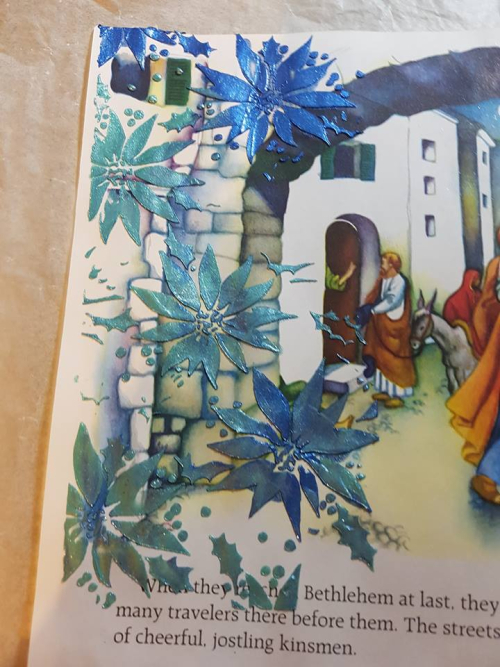
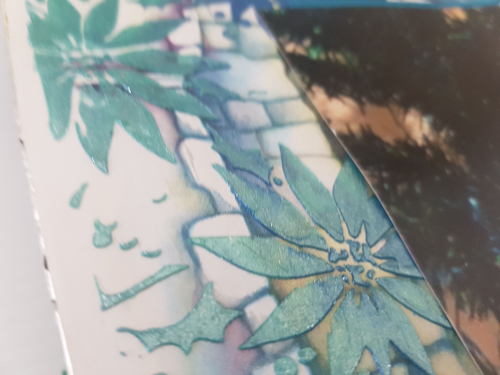
I used a Tim Holtz stencil to stencil poinsettias onto the page with my lovely shimmery texture paste. I let the 2 colours blend together through the stencil and I love the results.
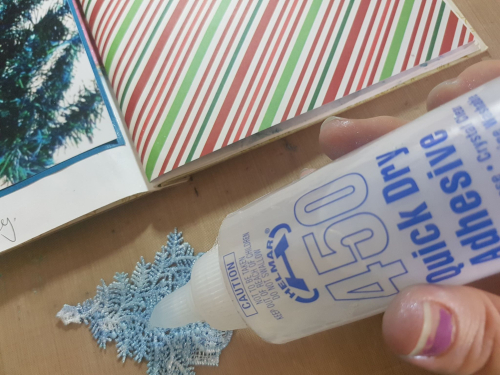
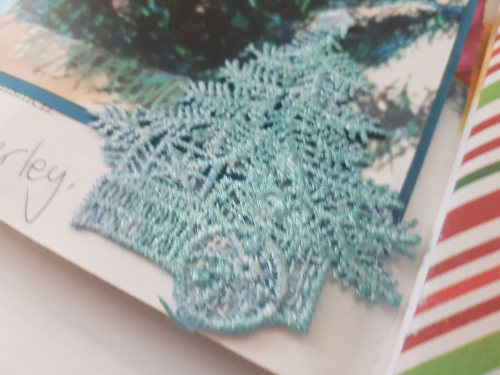
When doing another layout I would decide to add a lace Christmas Tree which I coloured with the mica powders and some water to the finished layout using Helmar 450 Quick Dry Adhesive.
I backed the photo with some teal cardstock from my stash and adhered it with Helmar Acid Free Glue. I added some stickers from my stash. I titled the page TREE at Mt Waverly and called this page done. I do want to add some journaling but I think I will incorporate that into the opposite page that will have the decorations on it.
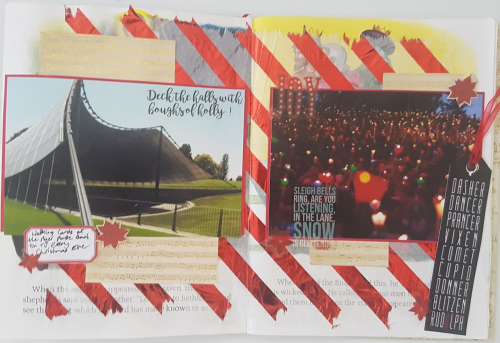
The next layout I worked on was my Carols by Candlelight spread.
I started by adhering some red foil tissue paper across the 2 pages with Helmar Acid Free Glue. I then matted my photos with some red cardstock and built my spread with some paper scraps and stickers from my stash. Adding a journal tag with memories of watching Carols by Candlelight on TV with my family.
It was after I did my Carols by Candlelight spread that I realised I needed a extra page and that it should go between my Tree page and this spread as it was our celebrations in Sorrento when we would watch Carols on TV, so I was happy I hadn't been able to do the right side of my Tree spread as I could add a page here.
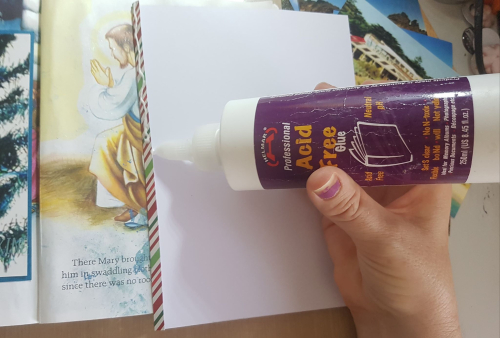
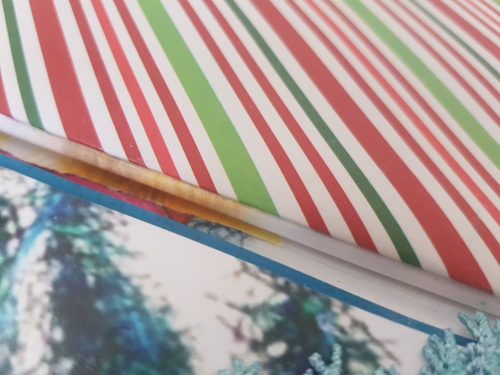
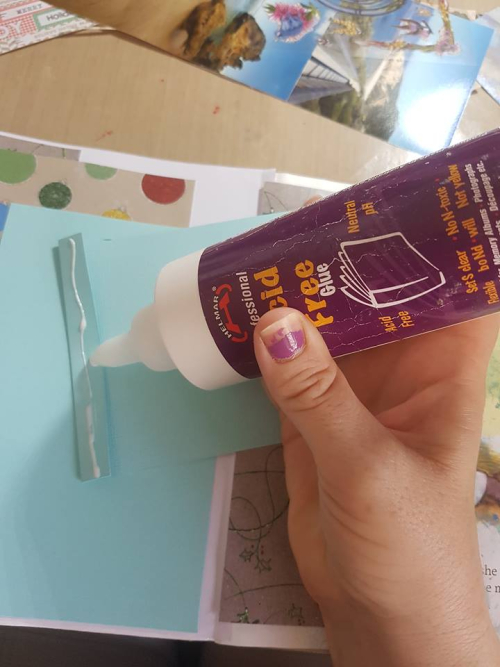
I cut some one sided paper down to 6 1/2 inches x 8 inches and scored it on 1 side so the finished page would be 6×8 which is the measurement of the pages of my book. I then applied Helmar Acid Free Glue to the 1/2 inch section and added it to the edge of the page.
I chose a paper that would suit my decoration photos but I plan to pull it together by repeating the stencilling on this page once I have smaller photos.
Now I could create my Sorrento layout.
I decided to keep the 4×6 photo size for this layout as I wanted to have that gorgeous visual of Sorrento Back Beach so I created a 2 photo waterfall on my added page. The space behind my front photo will be perfect for adding journaling to as I come up with suitable wording for detailing these memories.
This is the first time I have created a Waterfall with Helmar Acid Free Glue and it is definitely a far better way to do create it as you have some wiggle to get it perfect which is much harder to do with tape.
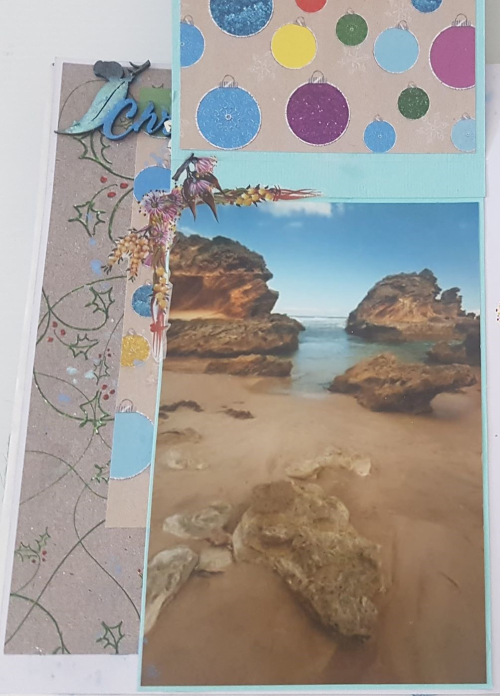
I also included a photo of Portsea taken from in the water as often when we were at my relatives at Sorrento we would go to Portsea for a swim and I would look back at the Portsea Life Saving Club while swimming in the beach.
I used papers and stickers from the Scrapping Fun Kits November 2017 Aussie Christmas kit to build my layers and decorate. I needed things to be as flat as possible so these were perfect for this.
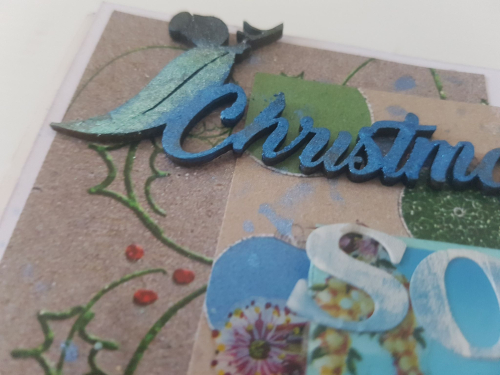
For my title I cut down a piece of Memorymaze chipboard to being just a gumleaf and gumnut and the word Christmas and coloured it by spraying it with a blue ink spray, I then added the blue mica powder to the wet chipboard.
I then realised the leaf should be green and the gumnut should be brown so I added the green mica powder to the leaf and some gold and then brown ink spray to the gumnut. It gave it a Christmas decoration feel and I love it. I adhered the chipboard piece with Helmar 450 Quick Dry Adhesive to ensure it had a strong hold.
I finished my title with some alphas from my stash and added a small amount of journaling to my righthand page.
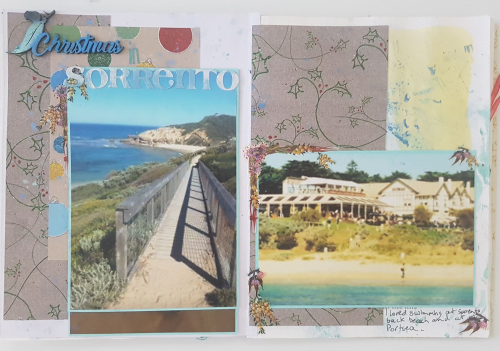
I love how these pages have turned out and because I have used Helmar I know they will last.
If like me you don't have many photos from your childhood maybe try doing some Google Image searches for places you visited or things you had and create a album about your memories.
I filmed a Process Video for this project.