Hello! This is Martice, here to share a fun (and of course) colorful project with you. This will be my last post on the Helmar blog as a design team member so before I share my tutorial, I want to give you a big 'THANK YOU' for all of your generous comments, shares and encouragement. I truly appreciate every kind word!
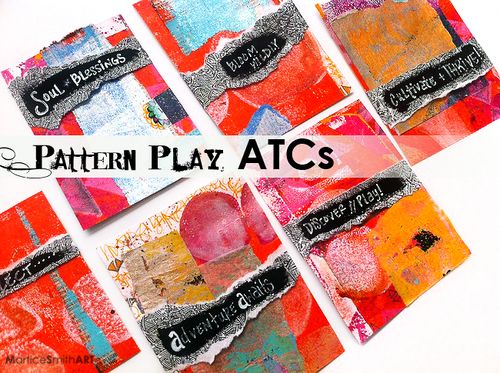
I like to use ATCs, or artist trading cards, to experiment with textures, patterns and color combos.
Today, I'm sharing how I combine all three to create simple sentiments to help keep me motivated and inspired throughout my day.
Supplies to gather:
- Helmar Decoupage and Craft Paste
- Helmar Gloss Varnish
- Acrylic + metallic paints (DecoArt Dazzling Metallics – Champagne Gold)
- ATC (artist trading card) size (2.5 inches x 3.5 inches) (64 mm x 89 mm)
- pens + markers
- paper cutter / scissors
- monoprinted papers
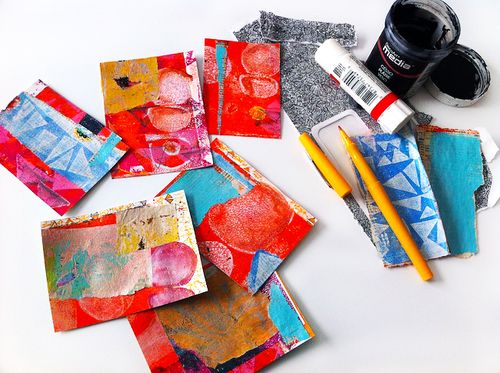
STEP 1// Gather your monoprints; cut paper to ATC size
Select a monochromatic color palette or use all the colors of the rainbow!
I like papers that have a bit of texture + pattern on them. Since my style is very bold with colors and shapes, I naturally chose papers with tropical colors and hand-drawn or stamped details.
STEP 2// add embellishments, marks + doodles
Give your ATCs a burst of glimmer! Brush on gold metallic paint (DecoArt Dazzling Metallics – Champagne Gold) in select areas.
STEP 3// add patterned paper
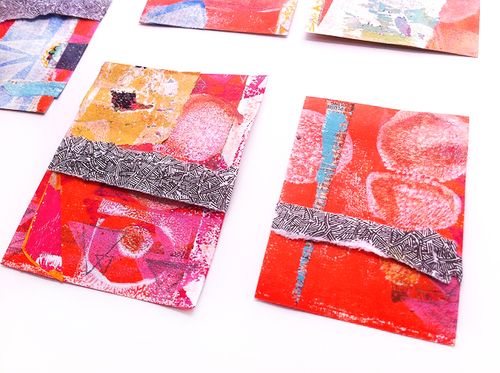
Tear strips from an envelope that has a decorated inside. (This "decoration" is a security feature that can be found on some envelopes.) I found a really cool one that reminded me of tribal patterns!
Apply a drop of Helmar Decoupage and Craft Paste on each end of the strip.
Fold ends to secure in place.
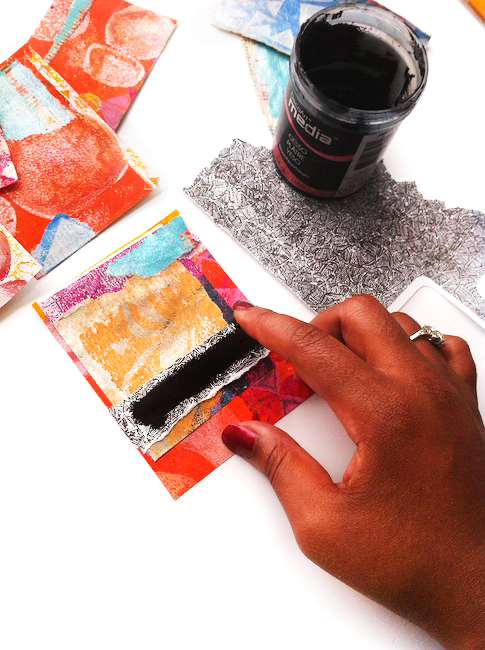
STEP 4// Smear black gesso on top of the patterned paper strip.
Use your finger or a dry paintbrush to add black gesso in the center of the patterned strip. Let dry.
STEP 5// Write short, motivational messages
First, make sure the gesso is completely dry!
(Even though gesso might feel dry to the touch, it stills needs to cure. Allow a few more minutes to dry, if needed.)
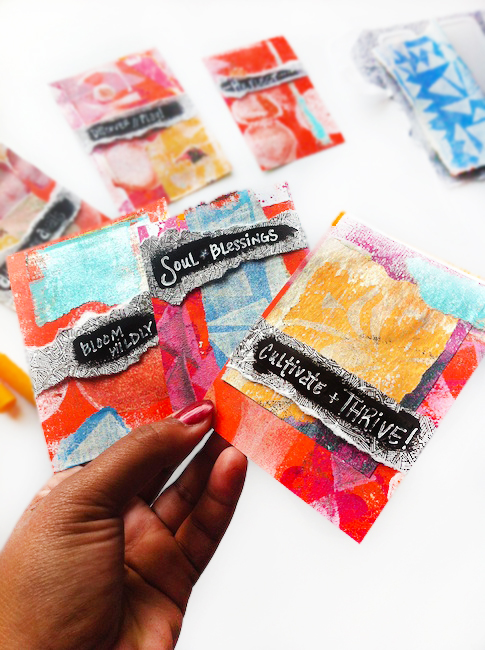
Using a white pen or marker, write your messages.
STEP 6// Seal the surface
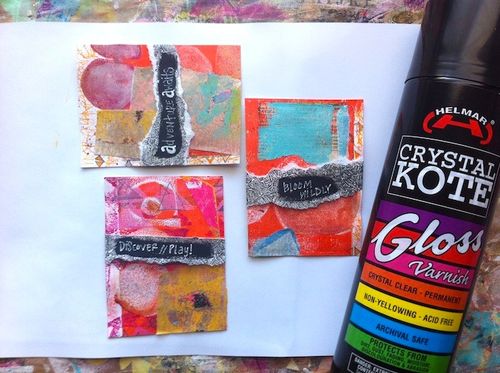
You can never go wrong with Helmar Crystal Kote Gloss Varnish! Spray two layers and you're done.
This varnish has really great coverage and dries very fast. I love how the colors remain vibrant and the crystal clear finish is perfect!
More ideas to try:
- Stitch these into your art journal using metallic or contrasting colored thread
- Give the edges a distressed look
- Cut one side of your ATC with scalloped scissors to create a decorative edge
- Use them in your pocket letters
- For extra bling, hole punch one corner, insert a strip of sari ribbon and thread on a few glass beads.
I hope you've enjoyed this tutorial! Happy creating!
Be sure to follow Martice on her blog to catch more tutorials featuring Helmar products.