
Hi everyone,
Today I am sharing with you a shaker card I made using products from Helmar Adhesive.

I used a stamp set from Stamping Bella called Unicorn Sentiments, I stamped the image out using a Lawn Fawn acrylic block onto X-Press It Blending Card with Memento Tuxedo Black.
I then coloured the image using Copic Markers, I will have those listed below.

Once I had the image coloured I began putting the card together.
I used Helmar Quick Dry and also the Acid Free to adhere all my pieces.
I started by making my rainbow, I used a whole lot of scraps from my leftovers bucket to cut all the strips then used the Quick Dry adhesive to adhere them all together, I did this on my glass media mat so I didn't make a mess.

I then added some puffy clouds to the ends of the rainbow and glued my unicorn the left side on top of one of the clouds. I also cut a sun and added that behind the rainbow on the right.

I used some clouds patterned paper from Pebbles to create my shaker laker, I ran a Lawn Fawn stitched circle die to cut out the centre and create my window. I didn't have any clear vellum left so i used some leftover acetate from packaging and ran that through with the same dies but the next size up and adhered that to the back of my clouds piece using the quick dry adhesive.
I added some foam tape to the back of the acetate and used star sequins from Beebee Craft for my shaker element.
I stamped out a sentiment from Studio Katia Birthday Greetings onto some vellum using Ink on 3 Blackout ink and carefully used my heat gun to make sure it was completely dry, I added some bling to the ends so I could hide some of the quick dry adhesive.

I cut a number 2 from Paper Rose Studio Jumbo Numbers using some pink card stock from my stash and added that to the sun in the top right corner..

I hope you have enjoyed my post today, if you have any questions feel free to send me a message or contact me via facebook (all links can be found below).
Watch the You Tube Video Here
Products Used On My Card (Affiliate Links Used Where Possible)
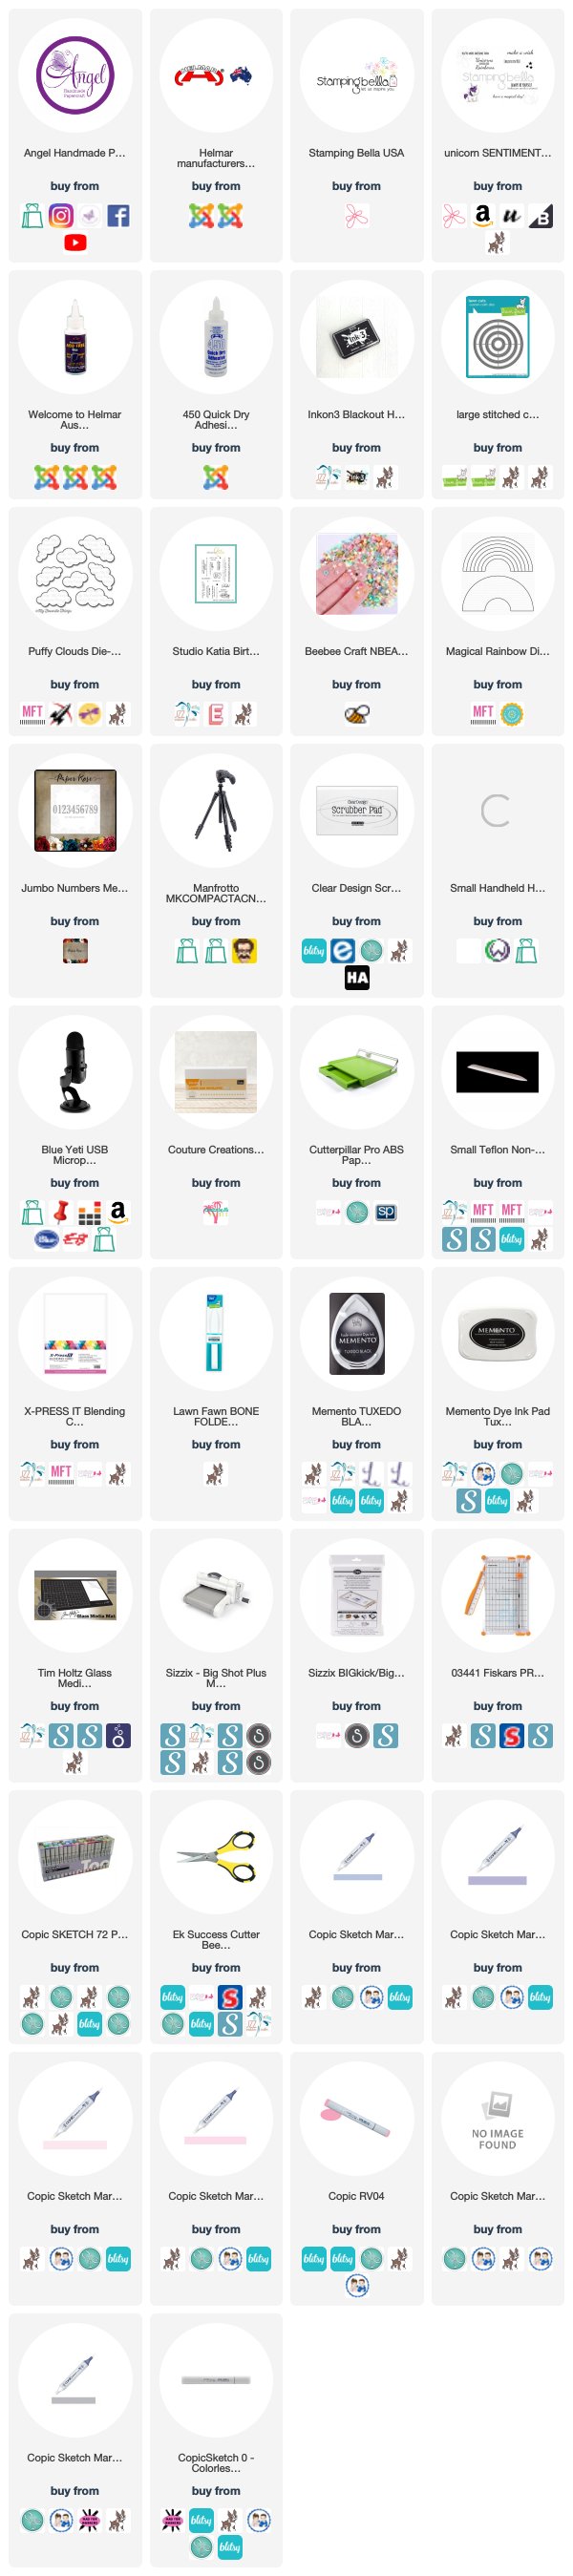
Copic Markers Used
V20, V22,
RV00, RV02, RV04
N0, N4, 0 Colorless Blender
Thanks for stopping by, Deni
CAMERA SET UP – FOR YOU TUBE VIDEOS ONLY
Blue Yeti Microphone
Sony Handycam HDR CX4-05
Tripod – Manfrotto MKCompactaCN-BK
S O C I A L MEDIA
B L O G : https://ldli.co/e/3xky6x
I N S T A G R A M : https://ldli.co/e/5dn20x
YOU TUBE: https://ldli.co/e/ej5l90
F A C E B O O K: https://ldli.co/e/mjxn2r
PINTEREST: https://ldli.co/e/2l9zom


