Hello crafty friends!! This month is the official month of "LOVE" …. so that's what is said. But I believe that every day of the year, any and every kind of love should be celebrated. Don't you? Anyhow, this months project I decided that I would use the January monthly parcel kit that I received from Frank Garcia Studio. This kit included one of the newest collections called "Dulce" that is absolutely stunning! Franks kits usually come with step by step instructions on how to create these albums, I like to change mine up a little bit and make it more mine.
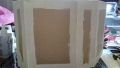
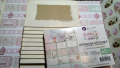
I began by painting the edges of the Memory Hardware Magnetic Dossier Chipboard Album using Apple Barrel Antique White acrylic paint. Once it was all dry I cut all of the pieces for the base.
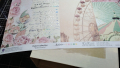
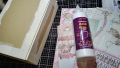
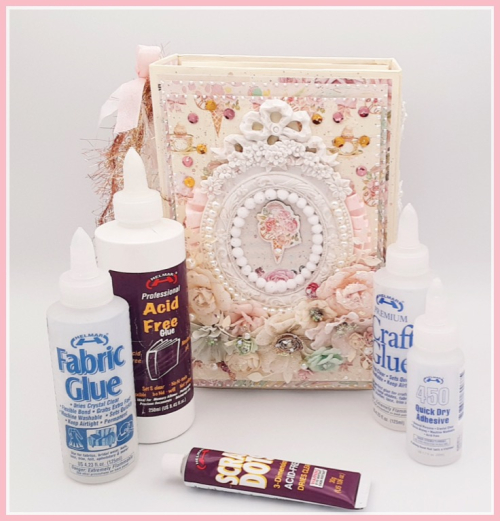
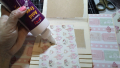
I adhered all of the papers to the album using Helmar Acid Free Glue , I apply it as dots this way my papers won't wrinkle.
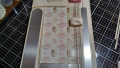
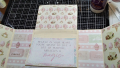
After the papers were adhered to the base, I cut to size the journal cards that came with this collection/kit. These are for the pages of the album, they all come with beautiful images printed and areas to add photos or journaling. On the back of the pages I used the same adorable ice cream cone pattern on all pages. I am thinking that I might end up adding some photo mats to some of these pages. On the last page I cut out one of the super cute sentiments from one of the 12×12 pages.
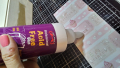
Once I was finished with the pages, I started on the cover. I cut out another two pieces of the design paper to layer on top of the cover, I used the Helmar Liquid Scrap Dots in place of foam tape which works wonderfully. I love using these because you can prop up what ever you are working with as high or as low as you want. I put one on then I let that dry then added the other piece and let that dry before adding everything else.
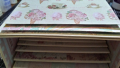
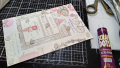
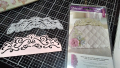
While the papers on the cover dried I went back to the inside of the album. I wanted to make a pocket so I used the Heartfelt Creations "Florence" Die and cut out a beautiful edge and added it to a piece of design paper to make my pocket. I then added some flowers, Chipboard Stickers and Crystals from the Dulce collection, and some die cut leaves for an added touch.
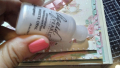
Once the papers on front are dry I began to embellish the front. I started by adding some White Opal Liquid Pearls by Ranger around the edges of the two papers that I added on the cover. Once they dried I opened up a beautiful Memory Hardware Montchamp Imperial Decorative Frame, its not the same one that came with the kit, just changed it up.
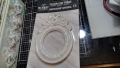
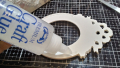
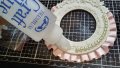
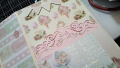
I added some pink ruffle trim around the edges using Helmar Premium Craft Glue . I used it also on the pearl and pom poms on the frame. I then cut and added a piece of the beautiful Dulce paper to the back of the frame as my background and finished it off with a super adorable Ice Cream chipboard sticker from the collection. I then adhered the finished frame to the center of the album using Helmar 450 Quick Dry Adhesive which is my all time favorite adhesives!
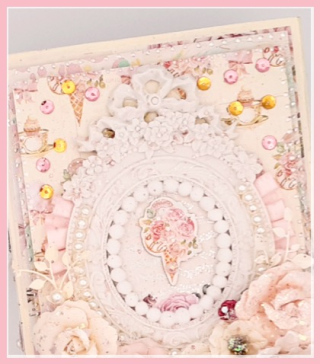
I then began adding some beautiful flowers , all from Prima of course, to the front of my album. Adding cheese cloth in small areas and adding some of the die cut leaves as well. Then added some pearls and crystals and sequins to areas on the cover. I finished off the front by adding some of the glitters that came in the kit to the flowers on the cover as well as the ones on the inside. Then splattered some diluted Art Alchemy Acrylic Paint Sparks Butterfly Spells as well as some white Gesso to the entire album. I then decided that I would add something to the sides of the album so I added some white lace heart appliques to both sides then added the pink and white seam binding and the two eyelash trims to one of the sides.
I do hope that you enjoyed my project that I created this month using a variety of adhesives from Helmar. If you want to see the entire album please check out the short video down below. I hope that you all have a wonderful Valentines Day with those you love! I know I will enjoy my day! I did also want to add that I titled my project "Mi Dulce Valentin", which means "My Sweet Valentine" in Spanish which is my 2nd language. See you all next month my crafty friends!! ~XOXO~ Jeanne