Hello, Nicole here on the blog. I have a New Year's project for you today.
Every year we have a New Year's party with friends. We eat, play, games, and ring in the new year together. This year I thought it would be fun to make some homemade poppers the kids can break open when the clock strikes twelve. Like most projects I start though it soon got a little out of control and I ended up putting a whole box of items together to take to the party. It's like an instant New Year's party in a box.
Here is a look at some of the things I gathered together as I started working:
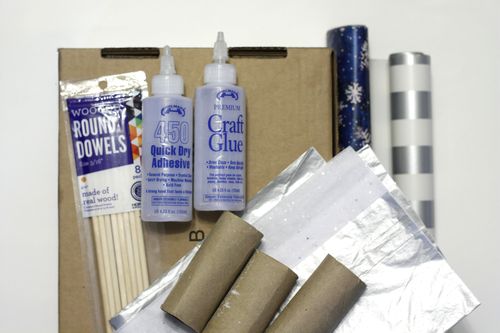
Helmar 450 Quick Dry Adhesive
Helmar ZapDots 1/4" squares (not pictured)
box
dowels
tissue paper
toilet paper rolls
wrapping paper
shredded foil (not pictured)
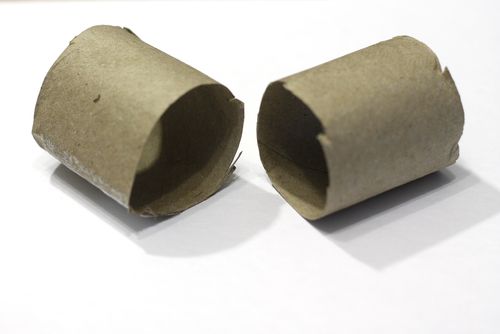
I started first by taking the toilet paper rolls and cutting them in half.
Next I cut the tissue paper in half (about 10" wide) and placed the roll on top. Filling each of the ends with some of the shredded foil, a few pieces of candy, and a small bottle of bubbles.
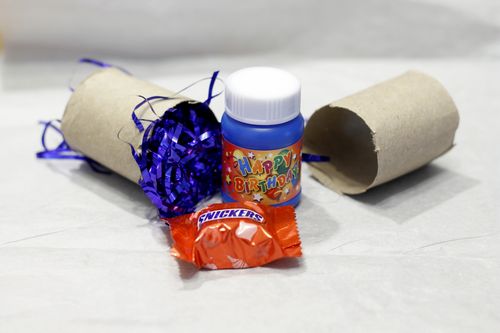
Place the two halves together and place a line of Helmar Craft Glue along the ends of each roll.
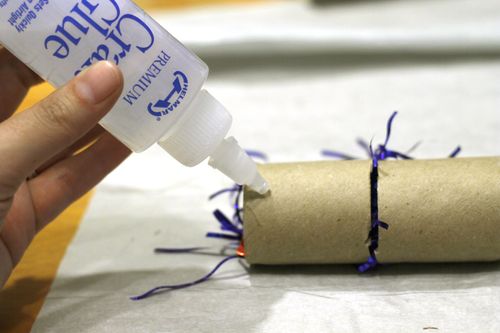
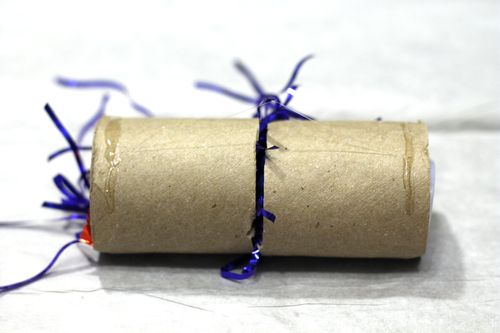
Take the edge of the tissue paper and place it onto the Helmar Craft Glue.
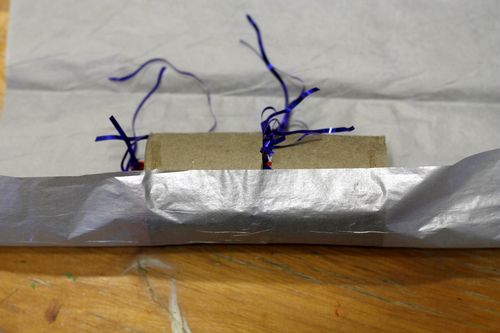
Continue rolling tube to the end of the length of tissue paper. Rolling carefully so the contents don't spill everywhere.
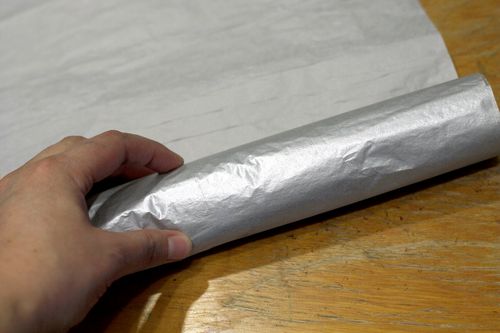
Once you've reached the end of the tissue paper tie the ends of the tissue paper shut with a little ribbon.
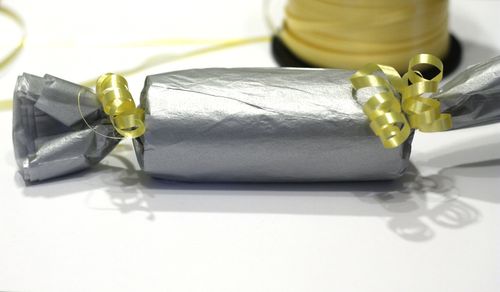
You can leave them as is or you can go a step further and decorate with a label or a little wrapping paper around the middle. I chose a few Non-Christmasey wrapping papers and wrapped a bit around the middles of each popper.
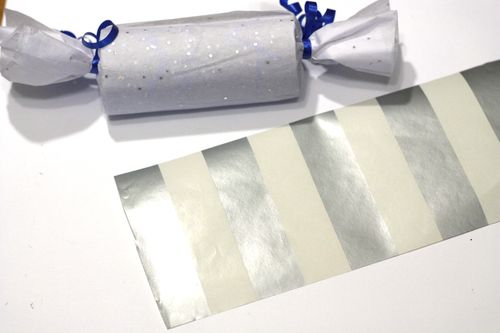
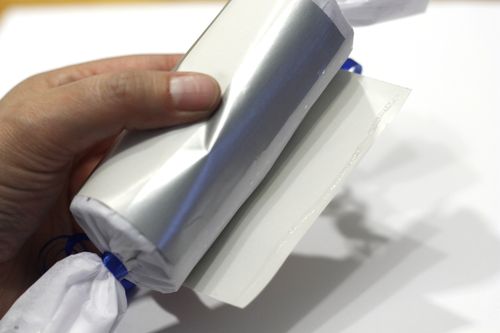
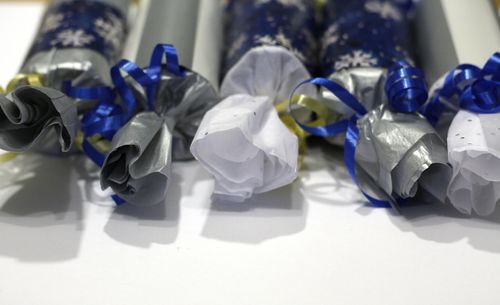
Here they are all finished and lined up.
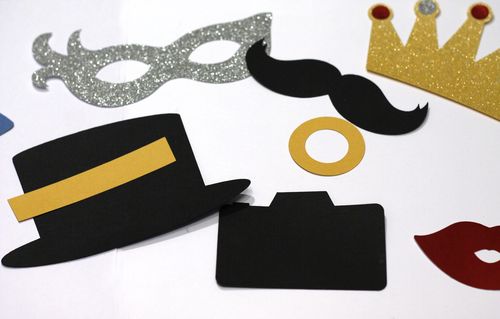
Next I started working on a few photo props. I found a few in the Silhouette store and using just a few pieces of cardstock and glitter paper scraps I cut these out on my Cameo.
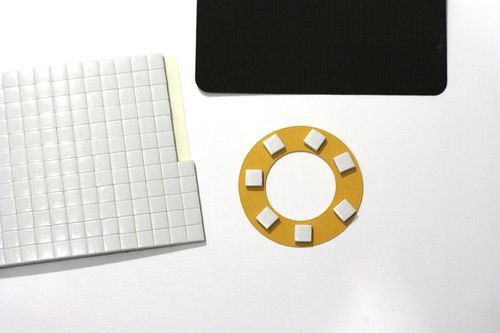
On some of the pieces I used Helmar ZapDots to add just a little more dimension to the props.
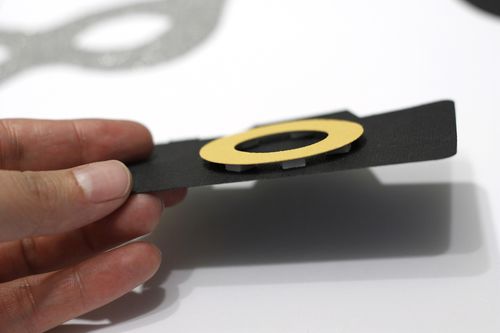
Once all the props were put together I added them to small dowels with Helmar 450 Quick Dry Adhesive. I added the adhesive first to the dowels and then laid the dowel onto the back of each of the props.
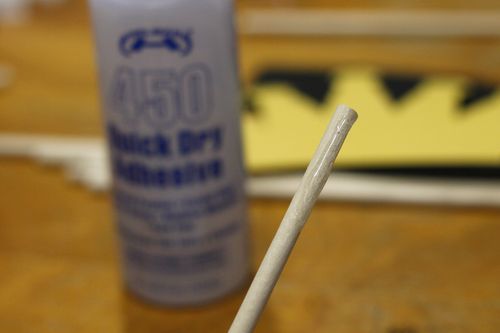
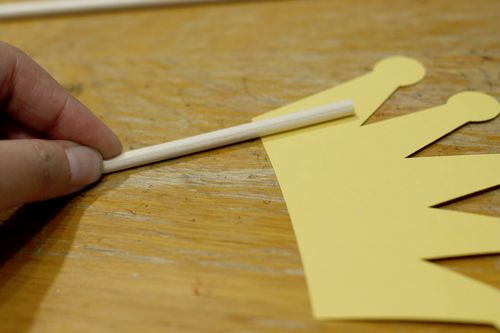
I LOVE Helmar 450 Quick Dry Adhesive. By the time I added glue to the last dowel and placed it, the rest of the props were all dry and ready to go.
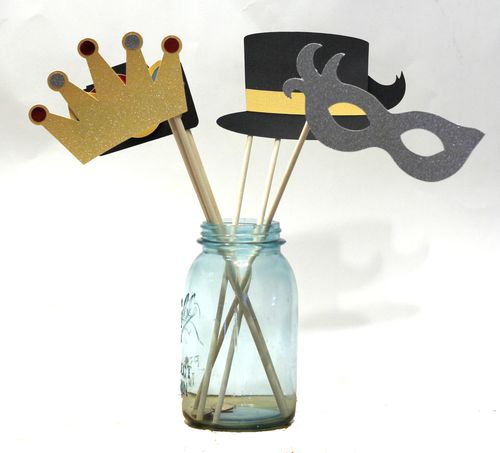
At this point in my creating is when I thought it would be great to find a box and put all my creations in to take to our party. All the online Christmas shopping I did came in really handy since I had the perfect size box sitting here empty. I also chose this box because the lid was attached and it would be a tad bit harder for my three year old to open 😉
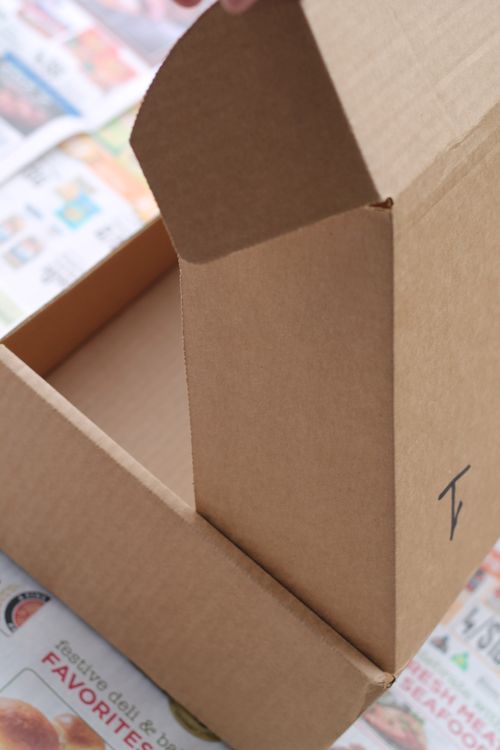
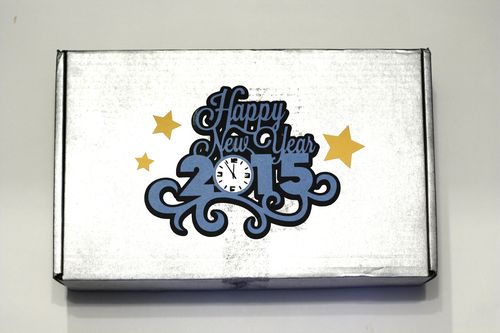
To make it a tad more festive I took a little silver spay paint to the outside.
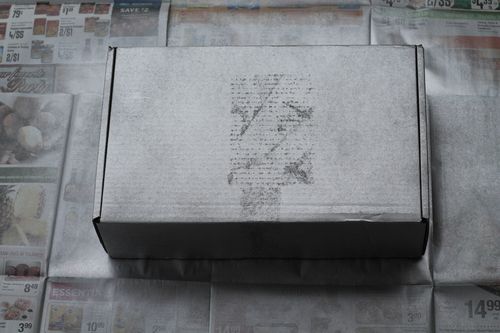
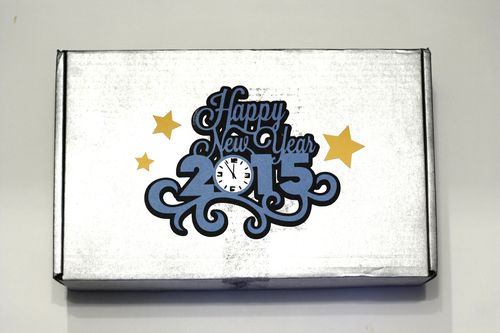
Once the spray paint was dry I added a few New Year's cuts I found in the Silhouette store.

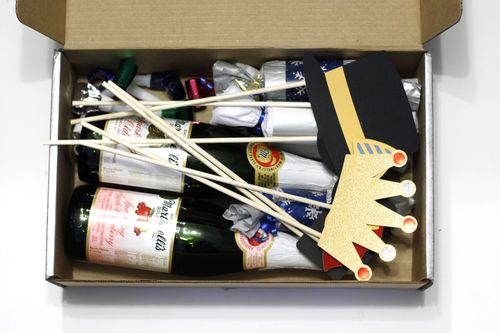
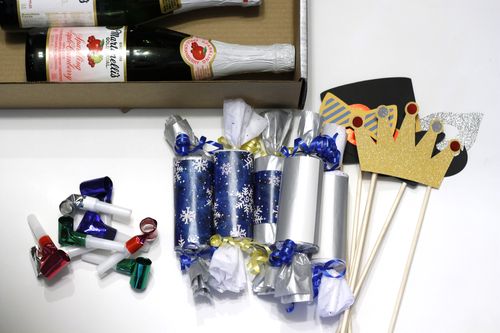
Inside I have the photo props, homemade poppers, a few noise makers, and some sparkling cider.
I'm excited to show up to our party with this festive little box. I wish all of you a very Happy New Year and Happy Creating!