
Hello fellow crafters, Cathy here posting today for Helmar and today's project was a super fun one. I put together for you a Witch hat centerpiece and I used 4 different Helmar adhesives
Helmar 450 Quick Dry adhesive
Helmar Fabric Glue
Foam Glue
and Helmar Fabric Stiffener
To start off my project, I purchased a styro foam cone 7 inches, a piece of grey patterened fabric and of course I took out my Foam Glue from Helmar.. I cut the fabric out in a triangular shape to wrap around the cone, and adhered it with the Foam glue. love it!! Holds fabulously!
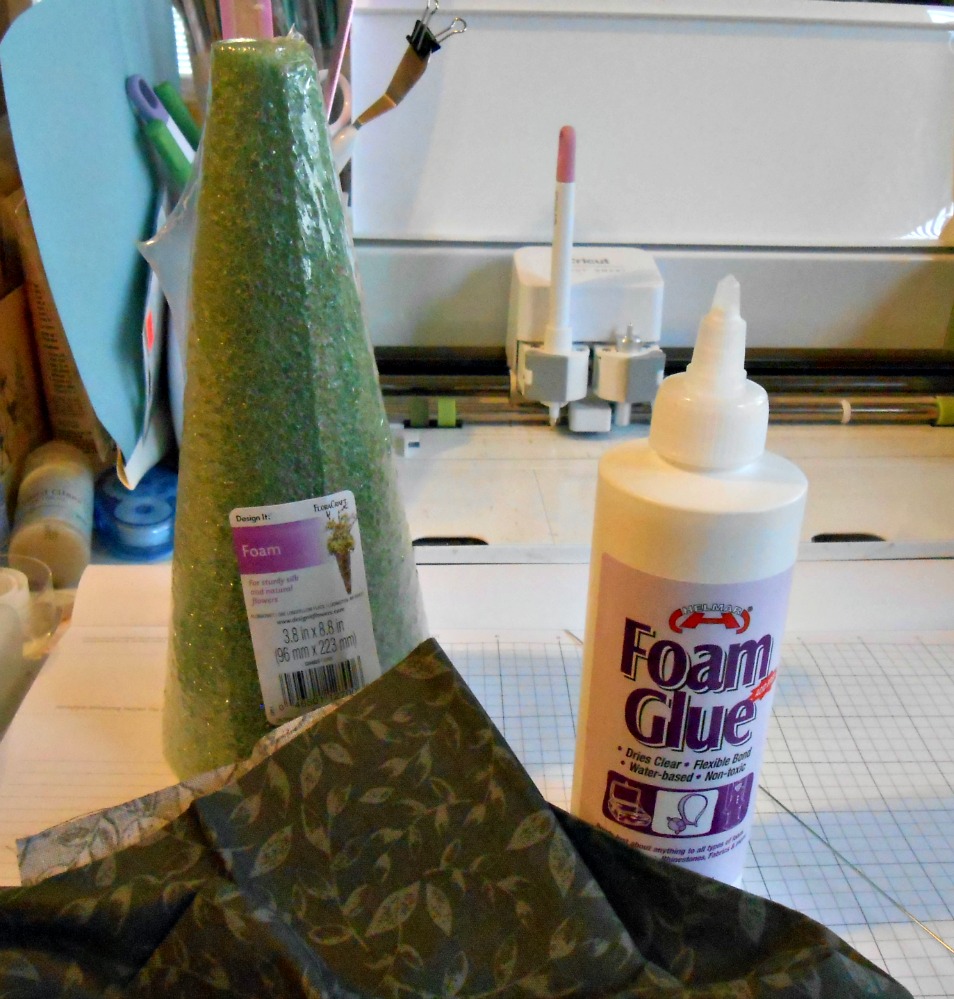
Before I totally closed it though I added some fine craft wire, by folding it in half and inserting it into the the top of the cone and bent it in a wavy shape and you will see why in next picture….


Next.. I cut 4 pieces of black card stock at 6 by 12 inches and scored them each at every 1/2 inches and then accordian folded them and added scor-tape to each end because I need to connect each one end on end to create a circular hat rim as you will see….

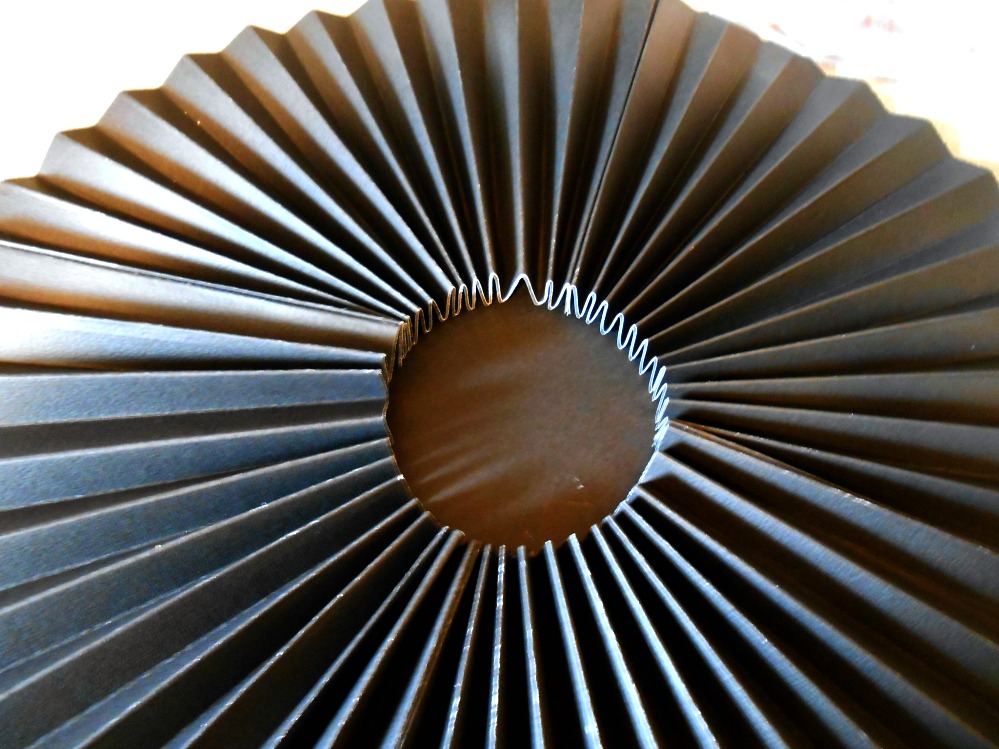
Next I took one of my smaller bowls and traced out a circle which I then added Helmar Quick dry 450 so when I added the black rosette hat rim it would dry quickly and hold the rim from moving


The next step was to cut a piece of fabric to wrap around the base of the hat and I decided on a bright pink, and I wanted the ribbon to stay up and not slide down abd the ends I wanted stiff, so what better product the Helmars Fabric stiffener and Draping liquid…I of course used gloves to get the ribbon all wet…then I wrapped around and tied in a 1/2 knot


Of course, what is a witch hat without some Tulle ribbon??? Or a spider web?? I tacked these down with Helmar Fabric Glue


Using my Cricut Design space I got some regular layered flowers as well as some that you roll and then glue on a base and here is a before and after of one I made and glued with 450 Quick Dry…


and here at last is the finished product…. notice the cute little spider?? I have him hanging from some twine…

Here are a couple other views


I hope you enjoyed today's project and will visit the Helmar store and check out their awesome products…
Thanks for peeking in
Cathy


