Hello Crafty Friends!
Hope you all are staying healthy and safe during this pandemic. I'm back on the Helmar Worldwide blog today, with a springtime home decor project. The new "Vintage Garden District" paper collection from Simple stories, has such pretty patterns and pieces to give that springtime feel to any project you create.
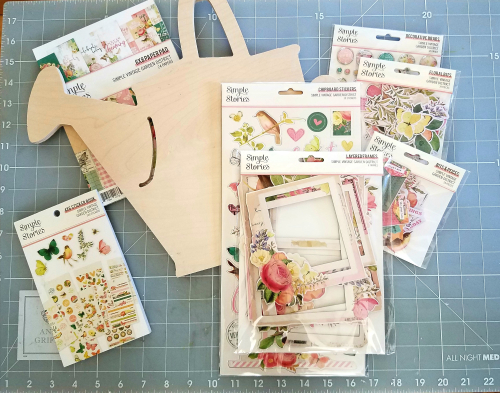
Supplies Used:
Simple Stories "Vintage Garden District" 6×8 paper pad, Bits & Pieces ephermera packs, Decorative Brads, Chipboards, Layered Frames and Sticker pack.
Plain Wooden Springtime shape (any design you like)
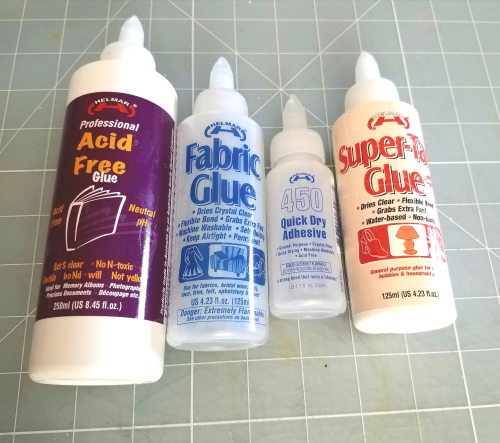
Helmar assorted Glues, Liquid Scrapdots, Fabric glue, Super Tac Glue, 450 Quick Dry, Acid Free Glue
Scissors, Distress tool, Water Spritzer, Prima Wood icon "this is love"
Prima flowers and Crystals, Prima Bloom spray "Tea Stain"
Rose Trim
Mini Stapler
White, light pink and Taupe acrylic paints, paintbrush,
Epoxy bubble sticker, Stickles Diamond glitter, Stardust
Photo of your choice or you could use a journaling card to frame
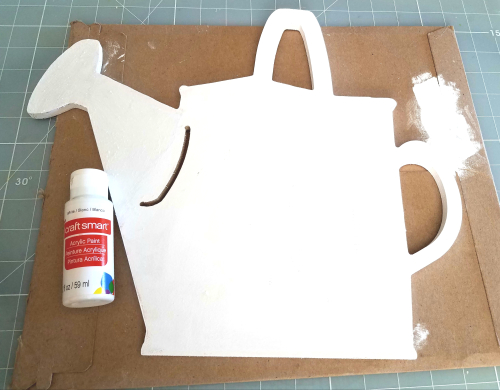
First prep your wood shape surface with white craft paint. One coat is usually sufficient, since you will layering colors on top of each other. Let dry.
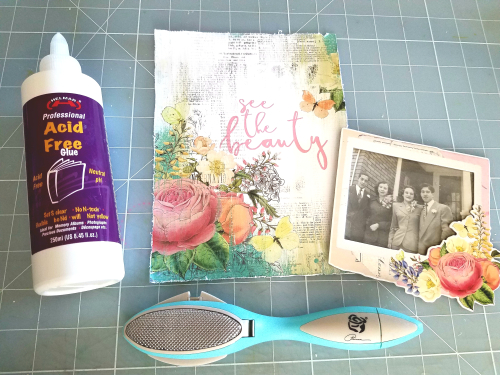
While drying choose a photo you'd like to use, along with a base paper from the 6×8 paper pad, plus one of the layered frames.
Distress the edges of your base paper with your distress tool, this gives an old vintage look. Then lightly spritz the paper edges with your water spritzer. Tear some of the edges lightly and roll and curl edges of paper with your fingers. Let dry.
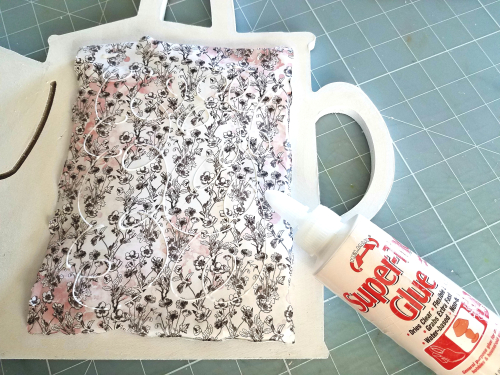
Next glue your base paper to the center of your piece using Helmar Super-tac glue. This glue dries clear and has super fast grabbing power.
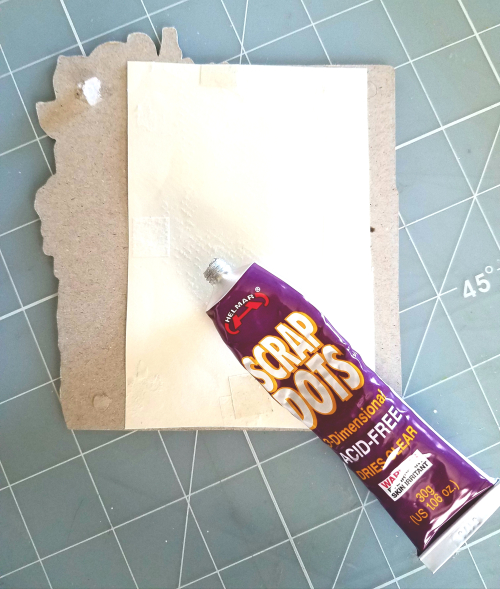
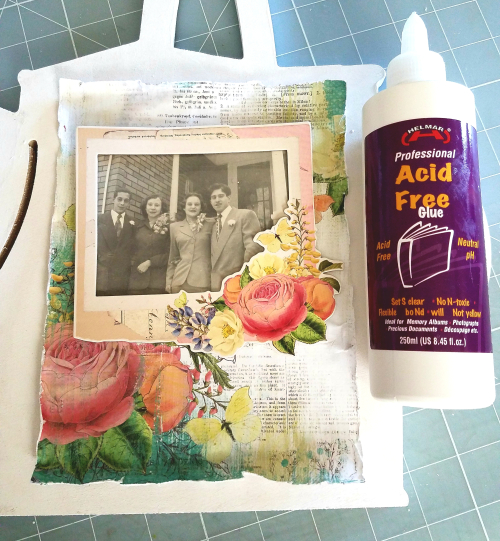
Now choose one of the chipboard layered frames. Glue your photo to the back of the frame, using Helmar Acid Free Glue. It won't yellow or harm your photo, dries clear too. Then attach your frame to the center of your base paper using Helmar Liquid Scrap Dots. These are one of my favourite Helmar products to use. They add a 3D effect to your project.
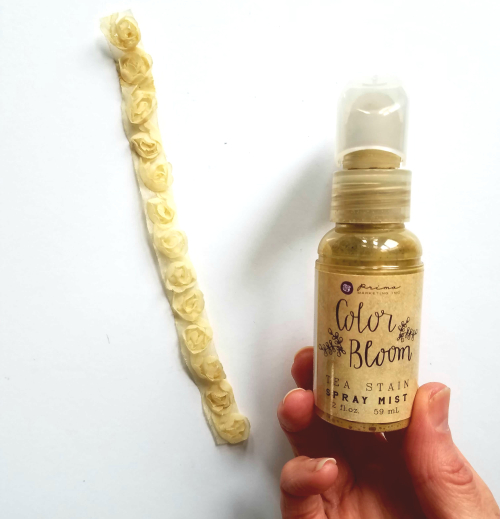
Take a piece of Rose Trim or anything trim or lace you have in your stash. Measure across the bottom edge of your wood shape and cut to size. Spray lightly with Prima Bloom spray and let dry.
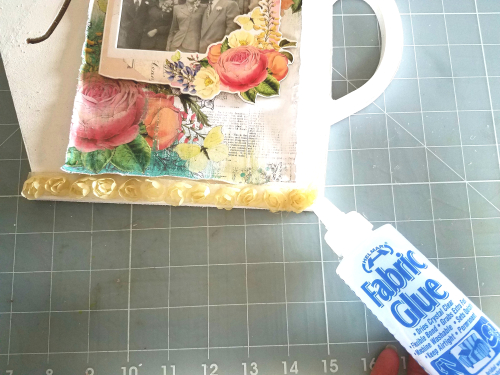
Glue trim onto the bottom edge using Helmar Fabric glue.
Next take your light pink paint and squirt out a small amount onto scrap cardboard. Take an old stiff small paintbrush and use a pounce motion on scattered areas of your wood shape, around edges, spout and handles. Then take the Taupe paint and repeat step as you did above. If needed go over with white paint with pounce motion. Just until you are satisfied with the way it looks.
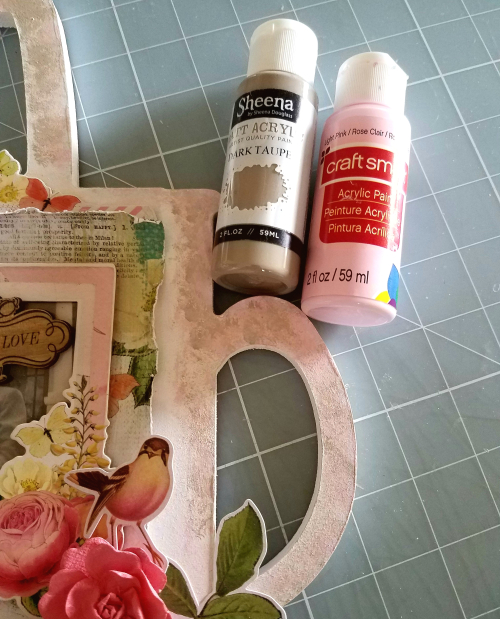
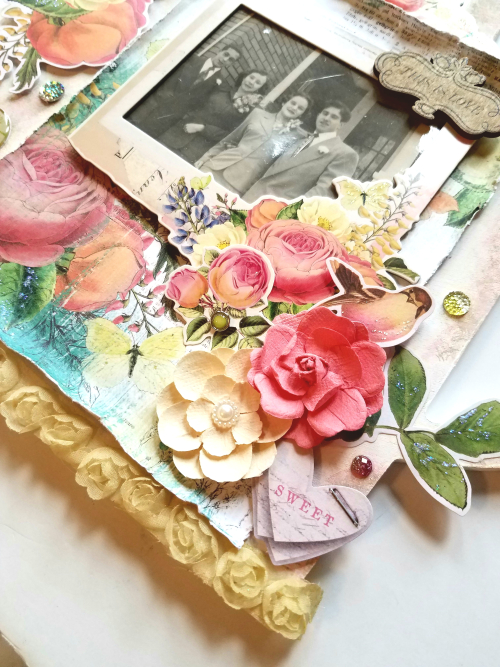
Now you can start arranging your flowers, and other embellishments to decorate your surface. Don't glue them down until you are happy with placement. I used a variety of chipboard pieces, stickers and ephermera pieces. For the Sweet heart shape I used a mini stapler and stapled in the top corner. I used Helmar Scrap Dots to the back of the heart to add dimension. For one of the round stickers I added an epoxy shape on top before gluing down. I bent the butterfly wings on my ephermera piece, to make the butterfly appear to be flapping his wings. I used Helmar 450 Quick Dry Adhesive and Helmar Super-tac glue, to attach the flowers and other pieces to my design.
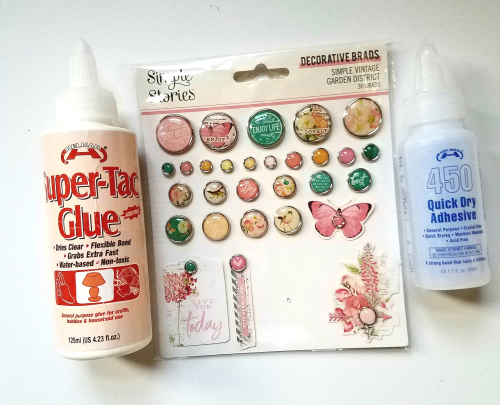
Lastly I scattered several Prima Marketing crystals to my project. Used Stickles Diamond and Stardust glitter on the butterfly wings and flowers on chipboard.
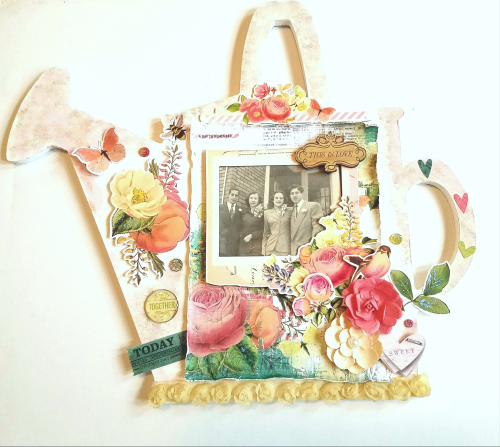
I hope you enjoyed this project today. Get out your photos and start crafting! Thank you so much for stopping by the HelmarWorldwide blog! Stay safe!