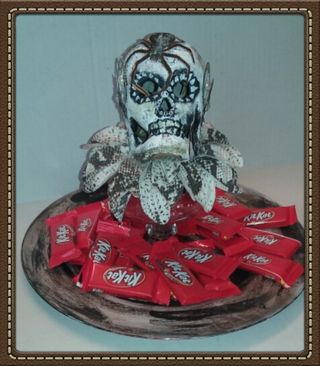
We love Halloween a lot in my household. Love to see the decorations, the kids in costume and most of all the CANDY!! ::big smile:: Decided to do something different besides passing out candy or eating candy this year with a little bit of decor for the table.
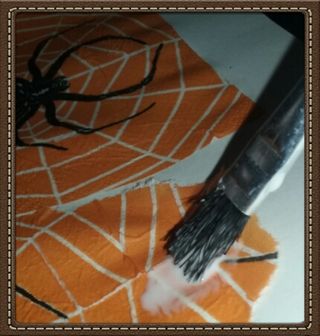
I began with taking some themed napkins and adhering them to sheets or paper for body. I used the Helmar Decoupage and Craft Paste, which I diluted 1:1 paste to water for a whole milk- like consistency. I brushed the paste on the paper, applied the napkin, then brushed *lightly* more paste. I played close attention to air pockets and smoothed them out. I sat the pages to the side and let them dry.
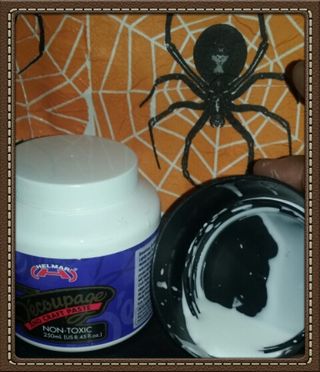
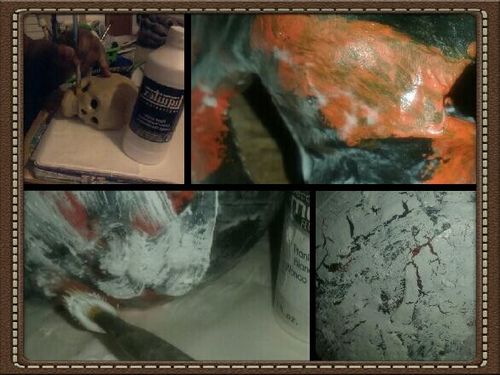
I also created a crackle effect on my paper mache skull. I first coated it with clear gesso, then I applied some red and black as my base/peek-a-boo acrylic. Sure I could have used crackle paste, but why when I already had a white paste out and available! I brushed some of the paste on the skull and just as it began to feel more tacky I slathered some white acrylic paint on top. A not a super serious crackled texture was created. Maybe if I used the heating tool, the crackle would have been more dramatic. All in all the technique was awesome enough for my skull.
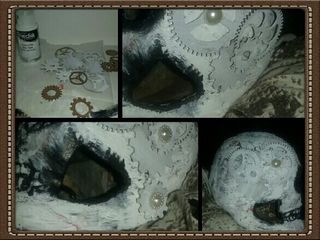
I took some chipboard gears I got from Gina's Designs and I coated them with some white acrylic and adhered them and some flatback pearls to the skull with Helmar 450 Quick Dry Adhesive. I am not a very skilled steampunk person, but the gears seemed to work the way I needed them to. I fussy cut my spiders and placed them in various parts of the skull with the Helmar 450 Quick Dry Adhesive.
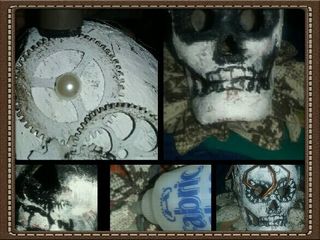
I also did some light detail work with more acrylics and gelatos. I dissected a large flower from a craft store to give the skull a sort of faux collar and attached it with Helmar Fabric Glue. I then adhered the skull to a flat mason jar with Helmar 450 Quick Dry, I looked at it and I still wasn't pleased. I fussy cut my spiders from the napkin decoupage and adhered them to the skull.
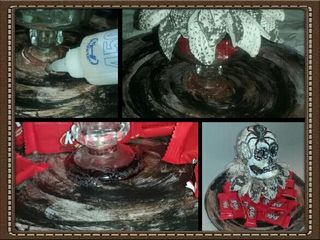
I gave the mason jar, which was glass some height buy attaching a candle holder, again with some Helmar 450 Quick Dry Adhesive. I always double place my glue on glass items. I put some on the jar and on the candle stick, let it get a little tacky and push those two pieces together. I studied it again, still not pleased, I painted a charger with some gesso and acrylics, kinda gave it a stone look and attached the candle stick holder bottom to the center of the charger. I have been staring at this piece a few hours now and frankly.. I just must consider it done! Not perfect, yet creepy.. I like it. ::smiles::
I really hope that when you decide to do some crafting and/or home decor that you consider Helmar products. You can view the entire line here! Have a SPOOKTAKULAR HALLOWEEN!!