
Welcome to our fun filled Helmar & Faber-Castell week!
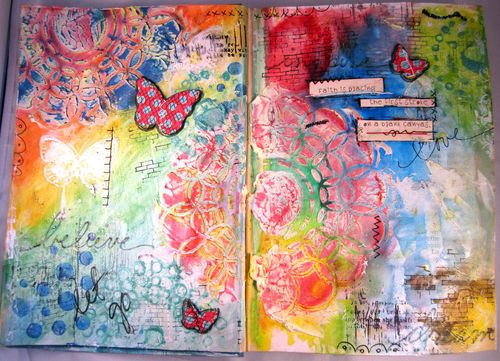
I love the gelato line of Faber-Castell and learned some fabulous techniques recently from a class I took and I'm really excited to put them into use on an art journal page to share with you today! I used a lot of products from Faber-Castell including the gelatos and big pitt pens but I'm going to focus on how I created the back ground using Gelato's and Water. (I do want to apologize for the chipped nail polish. I've been a bit lazy lately and didn't take the time to remove it which is why I didn't create a video like I was going to, and then I saw that my pictures still show my nails, Ugh!!)
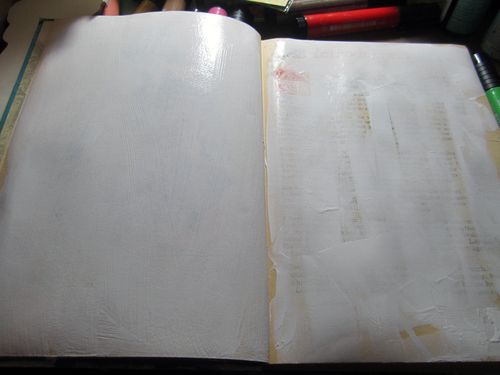
First, I primed my pages using white Gesso. I'm using an old book I picked up from Saver's for a buck for this art journal so it helps to use gesso to get them ready for all the layers I'm going to use. Also, these pages are fairly thin so I use Helmar Acid Free Glue to adhere 3 pages together to create a sturdier surface to take lots of layers. I love using Helmar Acid Free Glue b/c it dries super sturdy – did you know it was originally intended for book binding!? So it definitely does the trick.
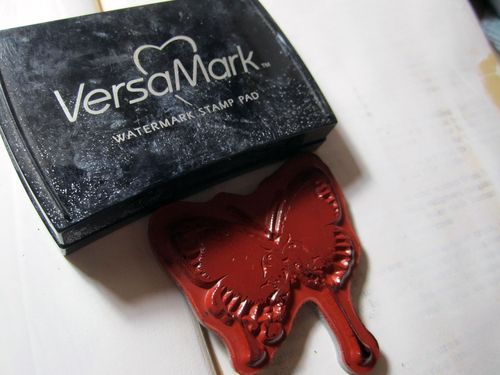
The first technique I used involves using UTEE to create a resist with a stamped image. I am using this butterfly by Unity Stamp Co. (In fact, all my stamps used today are from Unity Stamp Co.)
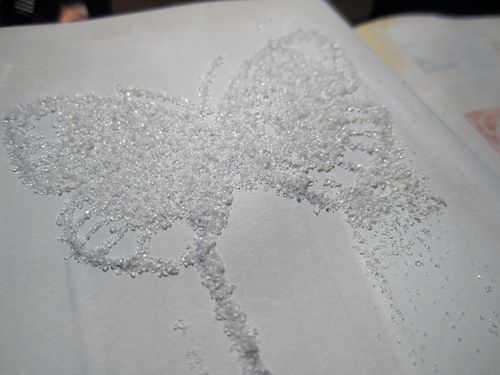
First, ink your stamp using versamark and then pour utee over your image and remove the excess.
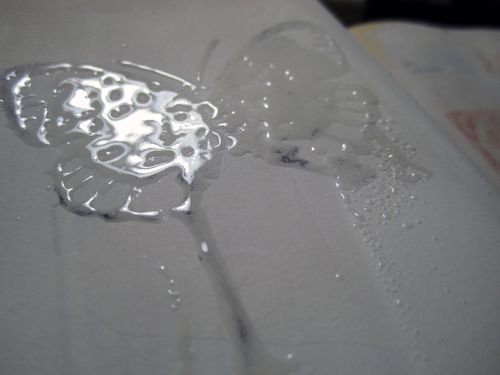
After you heat set it, the UTEE will melt and you will be left with this clear embossed image. This is your resist.
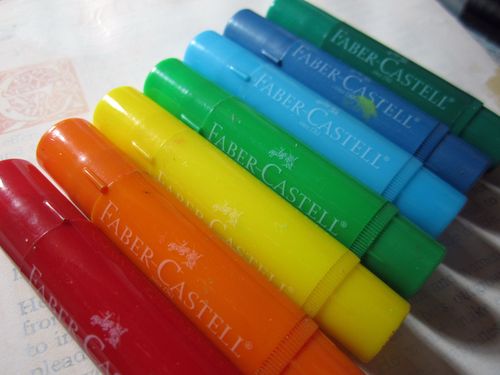
Now, I'm going to use Faber-Castell Geloto's in a rainbow of colors to create my background. I just love these! They react with water so it's a good idea to have a spray bottle or little cup of water nearby when working with them.
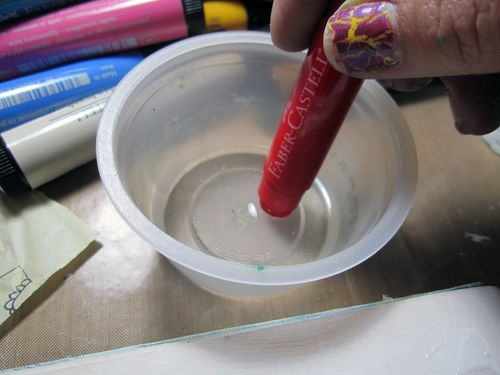
First, I'm going to dip my gelato directly into a bit of water to activate it.
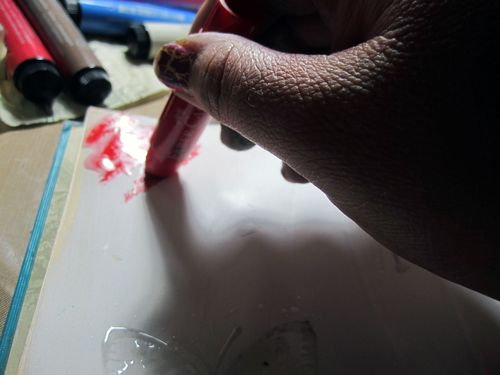
Now I'm just going to spread it directly on my page.
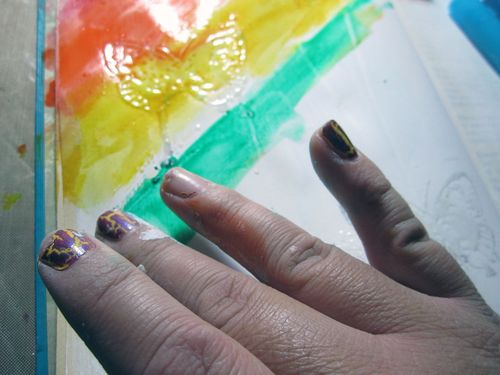
Then I dip my fingers into some water to spread & blend the colors (you can also use a paint brush for this step.)
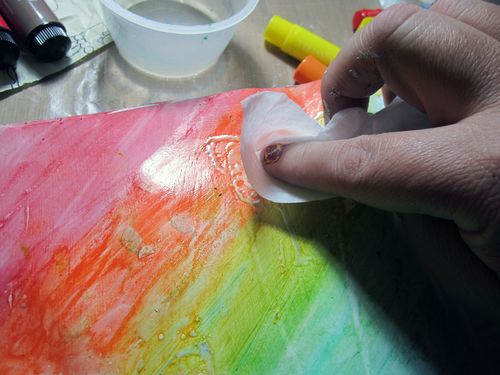
After the gelato's have dried you can take a baby wipe or wet paper towel and wipe off the color from your embossed image.
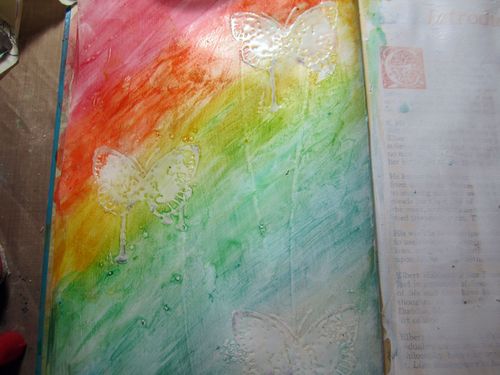
So, you now have a beautiful background with the butterflies resisting the color so they pop off the page.
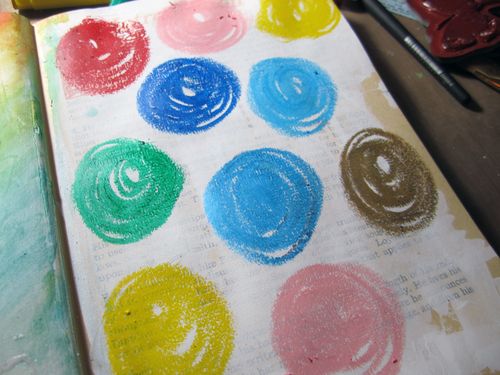
The next technique I used I once again applied gesso to my page but left quite a bit of the text showing through. Then I used Faber-Castell Gelato's to create different colored circles randomly over my page.
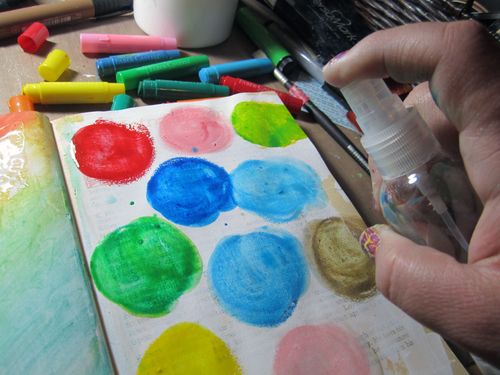
After I applied a bit of water with my fingers to each circle, I sprayed water directly to my page…LOTS of water! Don't be afraid!
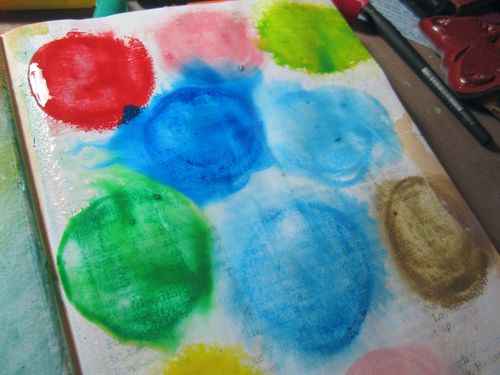
See how the gelato's are instantly reacting with the water and moving and blending together? It just makes me happy when I see this step.
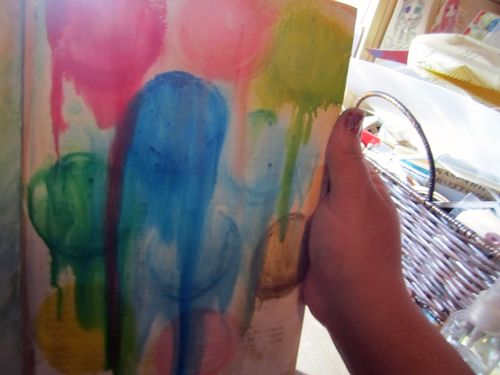
With the water & gelatos blending together, I held my book up so that I could create some drippage and more blending.
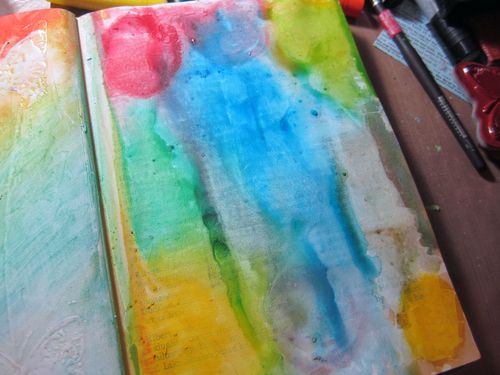
Ahhh, isn't it gorgeous!? Once dried, you're ready to add more layers and finish your page. I love using gelato's to create my first layer of color.
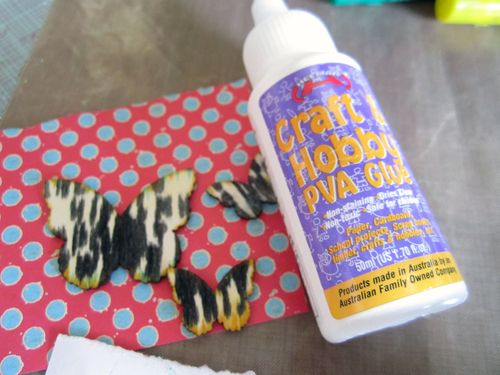
I used Helmar Craft & Hobby glue to adhere my pattern paper to some wood veneer butterflies I wanted to apply to my page.
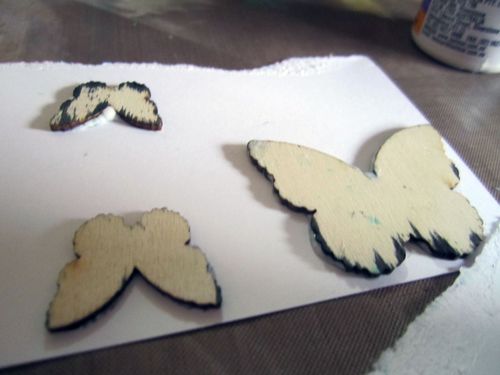
I just apply the wood veneer directly to my paper face down and rip it around the shape. I don't even really wait for the glue to completely set as I find it easier to tear the paper with it a bit wet.
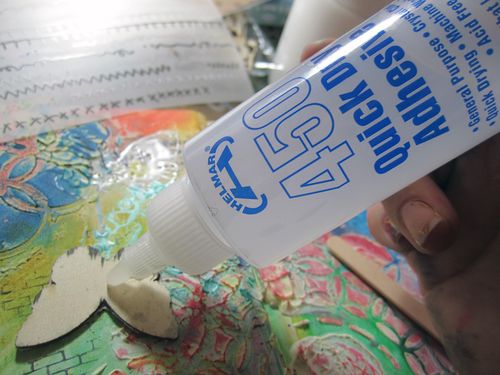
I always use Helmar 450 Quick Dry to adhere anything I want to my art journal pages. It works great with any amount of texture I already laid down. Now here are some pictures of the finished pages using the above steps for the first layer with lots of layers and texture on top but you can still see that gorgeous foundation though every layer.
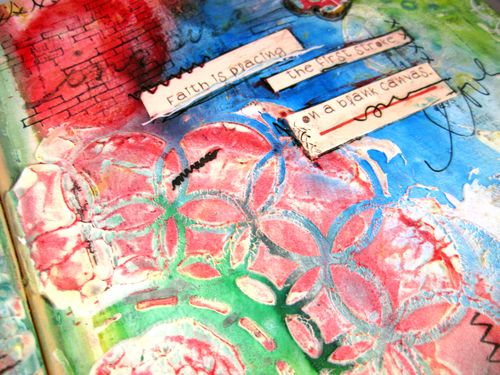
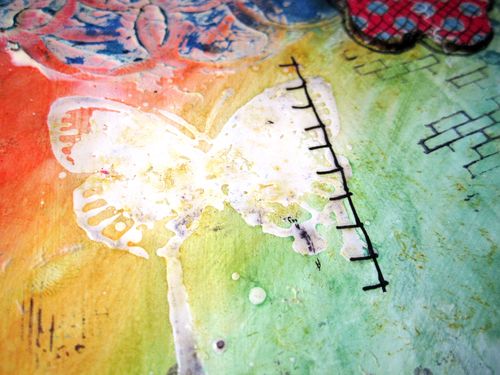
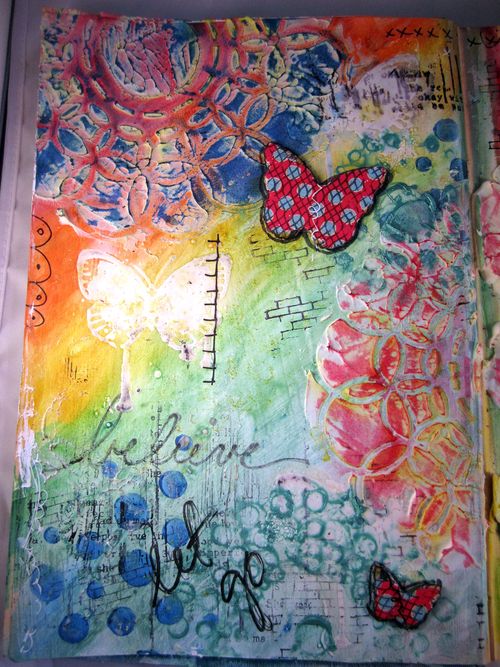
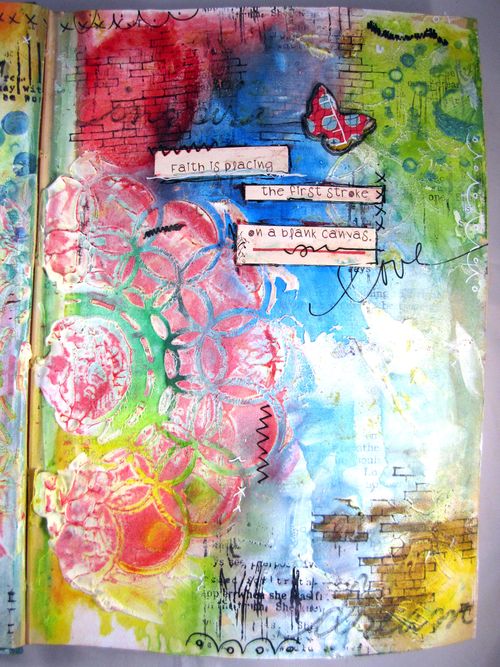
My final step included sealing my pages with Helmar Crystal Kote in Matt Finish. I love that this will seal all my layers and keep the integrity of the bright colors. I hope you enjoyed this as much as I did creating it! Please come back here each day as we have multiple posts planned every day this week featuring the fabulous creative power of Helmar and Faber-Castell!!
Helmar Design Team Member


